Using glTF Models with A-Frame
 -
-
You may have found your way to this blog because Mozilla just announced a new challenge with Sketchfab models, or maybe you just want a way to use glTF (GL Transmission Format) models in your A-Frame application. Either way we’ve got you covered. In this post I’ll show you how to load a glTF model into an A-Frame application, and some tips on how to modify it to create a fully interactive VR experience.
Building a simple scene
A-Frame is the easiest way to build VR content on the Web. With just some HTML and a little bit of JavaScript you can build games, interactive demos, and immersive experiences.
Create your first simple A-Frame scene by pasting the following code into a new file called scene.html:
<html>
 <head>
   <script src="https://aframe.io/releases/0.7.0/aframe.min.js"></script>
 </head>
 <body>
   <a-scene>
     <a-box position="-1 0.5 -3" rotation="0 45 0" color="#4CC3D9"></a-box>
     <a-sphere position="0 1.25 -5" radius="1.25" color="#EF2D5E"></a-sphere>
     <a-cylinder position="1 0.75 -3" radius="0.5" height="1.5" color="#FFC65D"></a-cylinder>
     <a-plane position="0 0 -4" rotation="-90 0 0" width="4" height="4" color="#7BC8A4"></a-plane>
     <a-sky color="#ECECEC"></a-sky>
   </a-scene>
 </body>
</html>
In this code you will see a bunch of strange looking elements with names like a-scene and a-box. These are the A-Frame elements. Each element has attributes for setting the position, rotation, color, and other properties of the element.
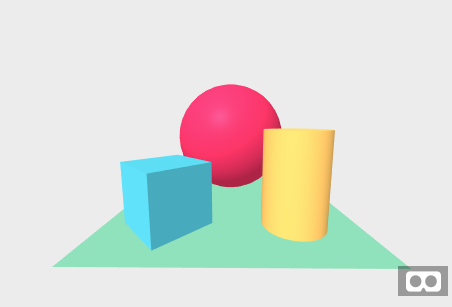
Now load this page into your web browser. I would be remiss if I didn’t mention that the newest release of Firefox, Firefox Quantum, has excellent support for 3D and VR. You should see a simple scene that looks like this:
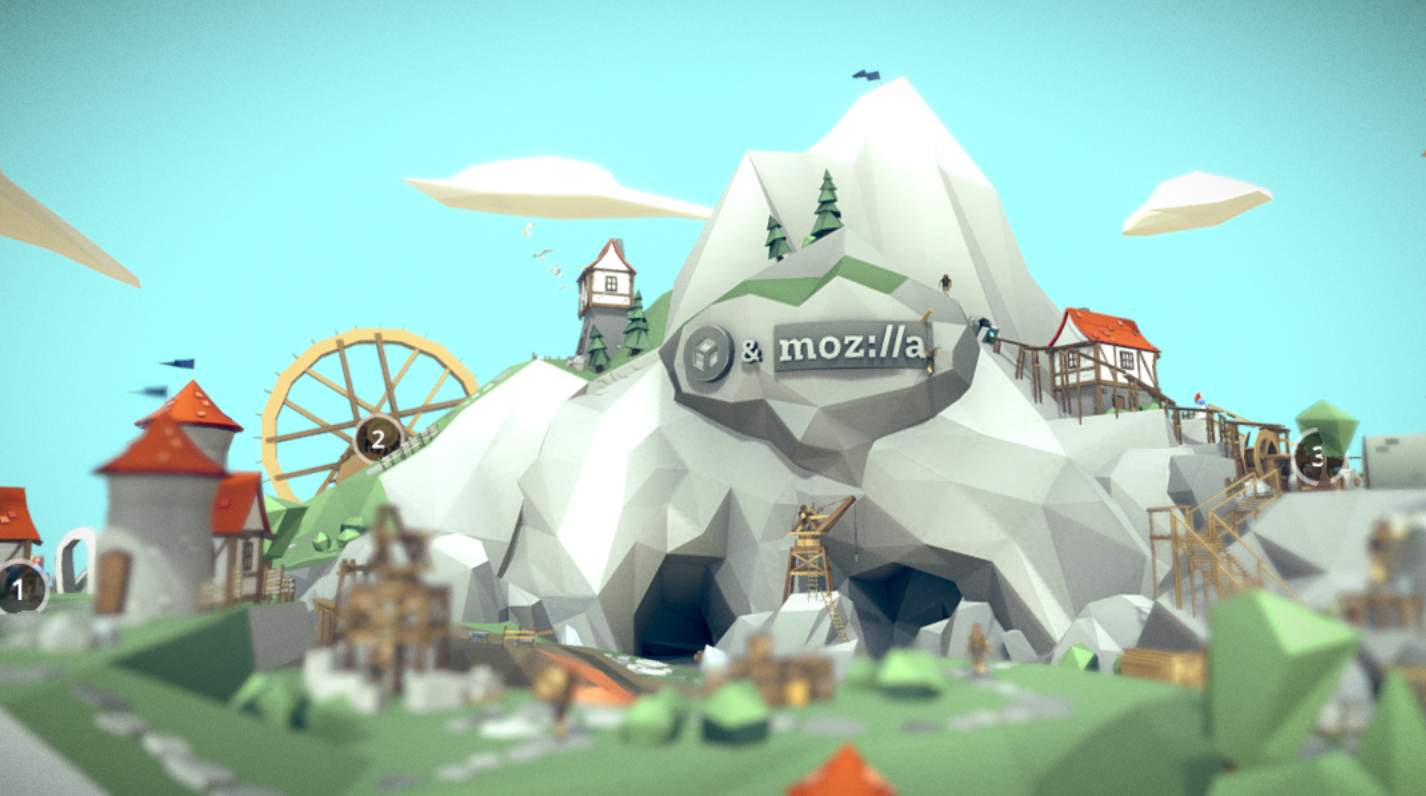
Now remove the cube, sphere, and cylinder lines, leaving just the plane. Next, go find a model on Sketchfab that you want to use. All of the models for the WebVR Medieval Fantasy Experience Challenge should use assets from the previous Real-Time Design Challenge and are tagged with medievalfantasyscene. I’ve chosen one called Mega Scene by VitSh.
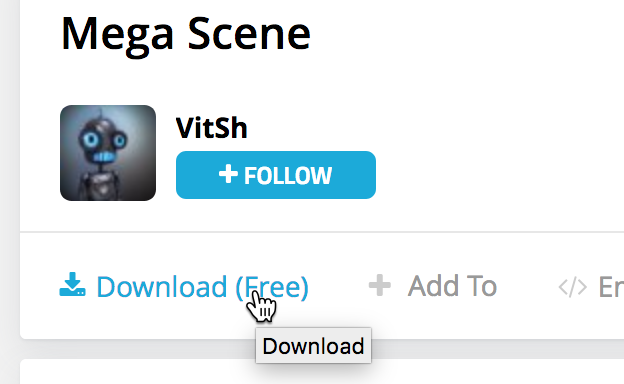
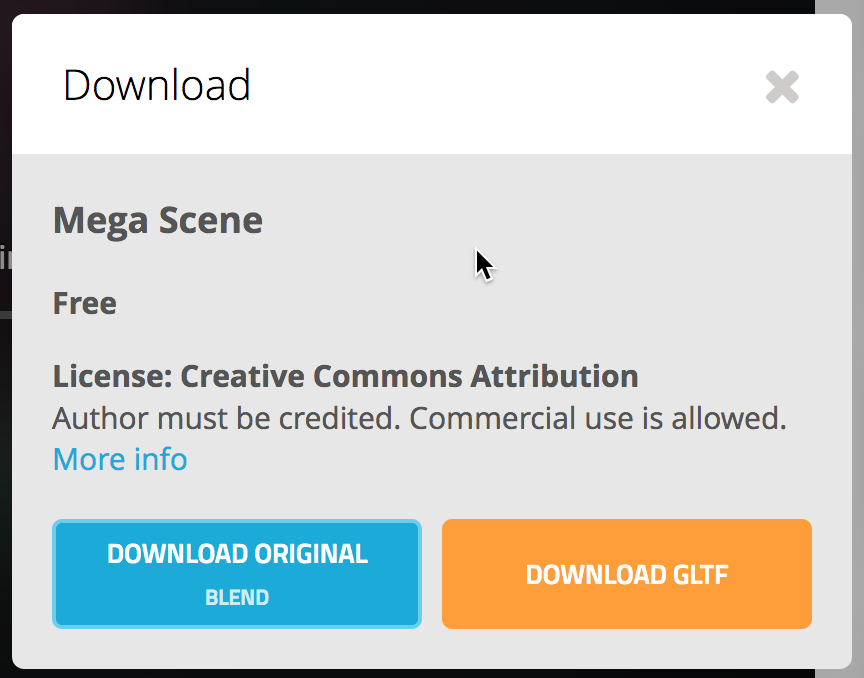
Click the Download (Free) link and choose the DOWNLOAD GLTF option (not the original Blender or FXB model). You will need to create a free Sketchfab account to download it. Your browser will download a ZIP file. Put the ZIP file somewhere near your scene.html file and extract the ZIP file.
Open the code to scene.html and add a link to the scene.gltf file using the a-gltf-model element like this.
<a-gltf-model src="mega_scene/scene.gltf"></a-gltf-model>
You should see a scene similar to this one:
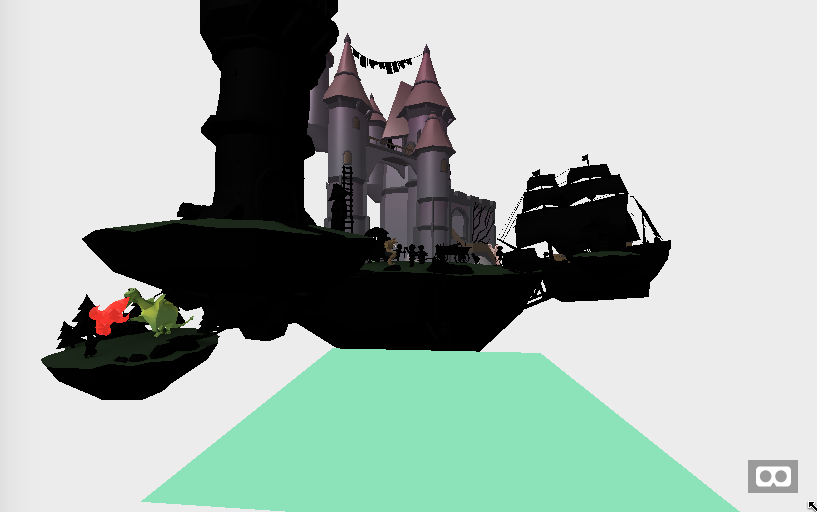
Now you can move it around by adding position and rotation attributes, or change the lighting with some a-light elements. See the A-Frame docs for more details.
Note: if you don’t see the model, check in the JavaScript console. Some operating systems set the file permissions of downloads to be readable only by the current user. On my Mac, this created an HTTP 401 error on my local webserver. I had to change the permission to world-readable to be able to view the scene.
For more information about the gltf-model component see the documentation page.
Subsetting Scenes
The scene above looks cool, but to create your own experience you will probably want to use only certain elements from the scene, not everything. A-Frame works in terms of models, so if we want to use just part of it we need to subset the model. There are a few ways to do this.
If the designer of the original scene has extracted models from the scene, you can just download those directly. Many of the designers on Sketchfab have already done so. Check the main model description for links, or look at galleries owned by the original designer. For example, the imp from Baba Yaga’s hut is available here. Many of the models have also been tagged with medievalfantasyassets.
If the particular scene model you wish to load was marked with individual parts, you can also use the gltf-part component to load only a portion of it. You may need to open the .gltf file to find these names. The file is just JSON, so search for properties called name.
Finally, if you are brave, you can download the open-source 3D-editor tool Blender for free to edit and subset the original designs directly. You will also need to install a glTF exporter such as this one from the Khronos Group, or this one from Kupoman.
Supporting Assets
3D models are the core of a VR scene, but to create a complete experience you’ll probably want some particle effects, animation, and even audio. The wonderful A-Frame community has built many supplemental components you can use in your application. One of my personal favorites is Diego Goberna’s environment component which can randomly generate terrain, objects, and skyboxes for you. For particles you can use IdeaSpace VR’s particle-system-component and for simple physics you can try out Don McCurdy’s physics component.
A-Frame has built-in support for positional audio, but you still need to provide your own audio files. You can find lots of natural sound effects at freesound, and the Free Music Archive has lots of creative commons-licensed music. You can even find background music designed to loop. Always remember to credit the original author of any assets you use in your creation.
Next Steps
I hope this post gives you a good start at creating cool VR content. If you run into any challenges, feel free to reach out for help. The main A-Frame community lives on the Slack group. We have created a Slack channel specifically for the challenge. You can also read the A-Frame blog for inspiration by seeing what other A-Frame developers have created. And of course use the aframe tag on Stack Overflow. Happy Coding!