
ThreeJS Particles, faster
 -
-
Last time we made particles which do all of the work on the CPU side. While the CPU is probably fast enough to make this work, the time it takes to transfer the data into the graphics processor makes this less than ideal. Let’s solve it.
This article is part of my ongoing series of medium difficulty ThreeJS tutorials. I’ve long wanted something in between the intro “How to draw a cube” and “Let’s fill the screen with shader madness” levels. So here it is.
If we want the GPU to do all of the work then we have to deal with two issues:
- the GPU has no state. It can’t save a variable back and use it on the next tick. (there are ways around this, but it’s messy)
- Sending updates on each tick is slow. We’d prefer to send it only once at startup.
To handle this we should be able to calculate the position of a particle at any point in time based only on the current time, the start position, and any other starting conditions. In other words we need a pure function. An equation which returns a result based only on its inputs. Let’s update the previous version to work like that.
You may remember from high school physics that the equation for acceleration is d = v0*t + 1/2*a*t ^2.
If d, v0, and a are all three element vectors then we can express it like this:
position at time t = initial position + initial velocity t+ 0.5 accel t t
Now we can change the update equation from this:
particles.forEach(p => {
   p.velocity.add(p.acceleration)
   p.position.add(p.velocity)
})
to this:
particles.forEach(p => {
    const t = time/1000
    const acc = p.acceleration.clone().multiplyScalar(0.5*t*t)
    const vel = p.velocity.clone().multiplyScalar(t)
    acc.add(vel)
    acc.add(p.initialPosition)
    p.position.copy(acc)
})
Of course we still have the problem that we are sending position updates to the GPU on every frame. What we must do now is perform this calculation in the vertex shader on the GPU instead of on the CPU.
That means we must first send the initial velocity, initial acceleration, and initial position to the shader as custom attributes. Here’s what that looks like:
const MAX = 100
 function setupScene() {
    const initialPositions = []
    const velocities = []
    const accelerations = []
    const geo = new THREE.BufferGeometry()
    for(let i=0; i<MAX; i++) {
        initialPositions.push(rand(-0.5, 0.5))
        initialPositions.push(rand(-4, -3))
        initialPositions.push(rand(-1, 1))
        velocities.push(rand(-0.5,0.5))
        velocities.push(10.0)
        velocities.push(rand(-1,1))
        accelerations.push(0)
        accelerations.push(-9.8)
        accelerations.push(0)
    }
geo.addAttribute(‘position’,new THREE.Float32BufferAttribute(initialPositions,3))
    geo.addAttribute(‘velocity’,new THREE.Float32BufferAttribute(velocities,3))
    geo.addAttribute(‘acceleration’,new THREE.Float32BufferAttribute(accelerations,3))
const mat = new THREE.ShaderMaterial( {
       uniforms: {
           time: { value: 12.0}
       },
       vertexShader: document.getElementById(
                 ‘vertexshader’ ).textContent,
       fragmentShader: document.getElementById(
                ‘fragmentshader’ ).textContent,
       blending: THREE.AdditiveBlending,
       depthTest: false,
       transparent: true,
       vertexColors: true
    });
mesh = new THREE.Points(geo,mat)
    mesh.position.z = -4
    scene.add(mesh)
}
Before we go on let’s review what’s going on up there.
A 3D object in ThreeJS is composed of two things: geometry and material. The geometry is the pure positions of each point in the shape. Before we have always used pre-made geometry like spheres and cubes. Now we are using a plain empty geometry and filling it with data.
Underneath Geometry is an array of data that is sent to the GPU, with one element per vertex. These arrays are called attributes. You can have multiple arrays for things like position, velocity, acceleration, color, or anything else you want. All of this data is sent when we load up the shader the first time.
The shaders are little bits of code that run inside the GPU. They are written in a special language called GLSL. Below are the vertex and fragment shaders we need:
<script type="x-shader/x-vertex" id="vertexshader">
uniform float time;
attribute vec3 velocity;
attribute vec3 acceleration;
void main() {
    vec3 acc = acceleration * 0.5 * time * time;
    vec3 vel = velocity * time;
    gl_Position = projectionMatrix
        * modelViewMatrix
        * vec4(acc + vel + position, 1.0);
    gl_PointSize = 10.0;
}
</script>
The vertex shader is run for each point. Using the same equation we previously had, it calculates a final position for each point based on the initial position, velocity, and acceleration. Notice how the vertex shader has an attribute declared for velocity and acceleration. Those are the same attributes we put into the data arrays earlier. We don’t have to declare position as an attribute only because ThreeJS has already done that for us.
<script type="x-shader/x-fragment" id="fragmentshader">
varying vec3 vColor;
void main() {
   gl_FragColor = vec4(0,1.0,0,1.0);
}
</script>
The fragment shader is run for each pixel. Right now it simply sets the color to green.
Since all of the data is set up front, the rendering loop just needs to update the time.
function render(time) {
   mesh.material.uniforms.time.value = time/1000
   mesh.geometry.verticesNeedUpdate = true
   renderer.render( scene, camera );
}
Now we have the information to easily calculate the position of each particle at any point in time on the GPU using only the current time as the input. This will let us use thousands and even tens of thousands of particles, even on mobile GPUs.
It looks like this:
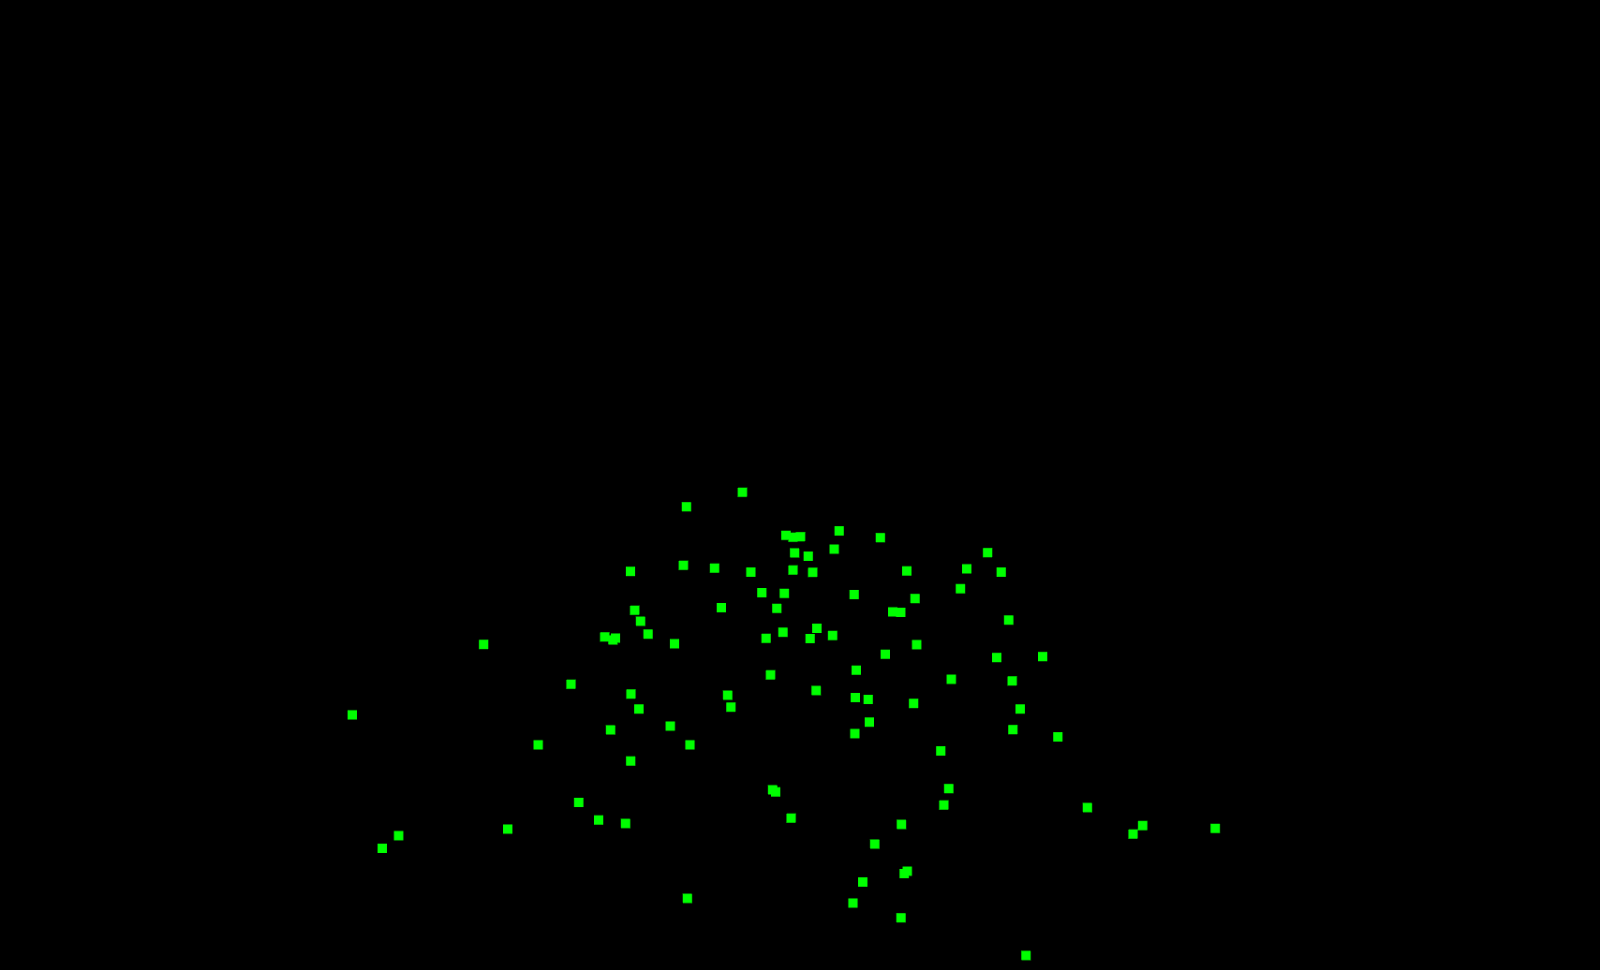
There are still a few problems, though.
- All of the particles are created at the beginning. Once they go offscreen they don’t come back.
- We can’t recycle particles or create them incrementally.
- We can’t make other properties change over time, like opacity or color.
- The particles are just squares, not nice smooth shapes.
- This is a lot of code that is messy to extend. It needs an abstraction.
Doing all of this is what the ThreeJS example GPUParticles.js does, however it’s still confusing to dig through. Next time we will look at a simplified version that does particle recycling and is completely extendable.