
ThreeJS Lines and Faces
 -
-
Remember how last time I said lines were hard and you can’t really do thick ones? I just found another (undocumented) example in the ThreeJS repo that does fat lines. I think it works by generating a series of tubes for the lines, so that they can have thickness. Here’s how to use it:
This is the next in my series of intermediate level ThreeJS blogs as I learn the library myself.
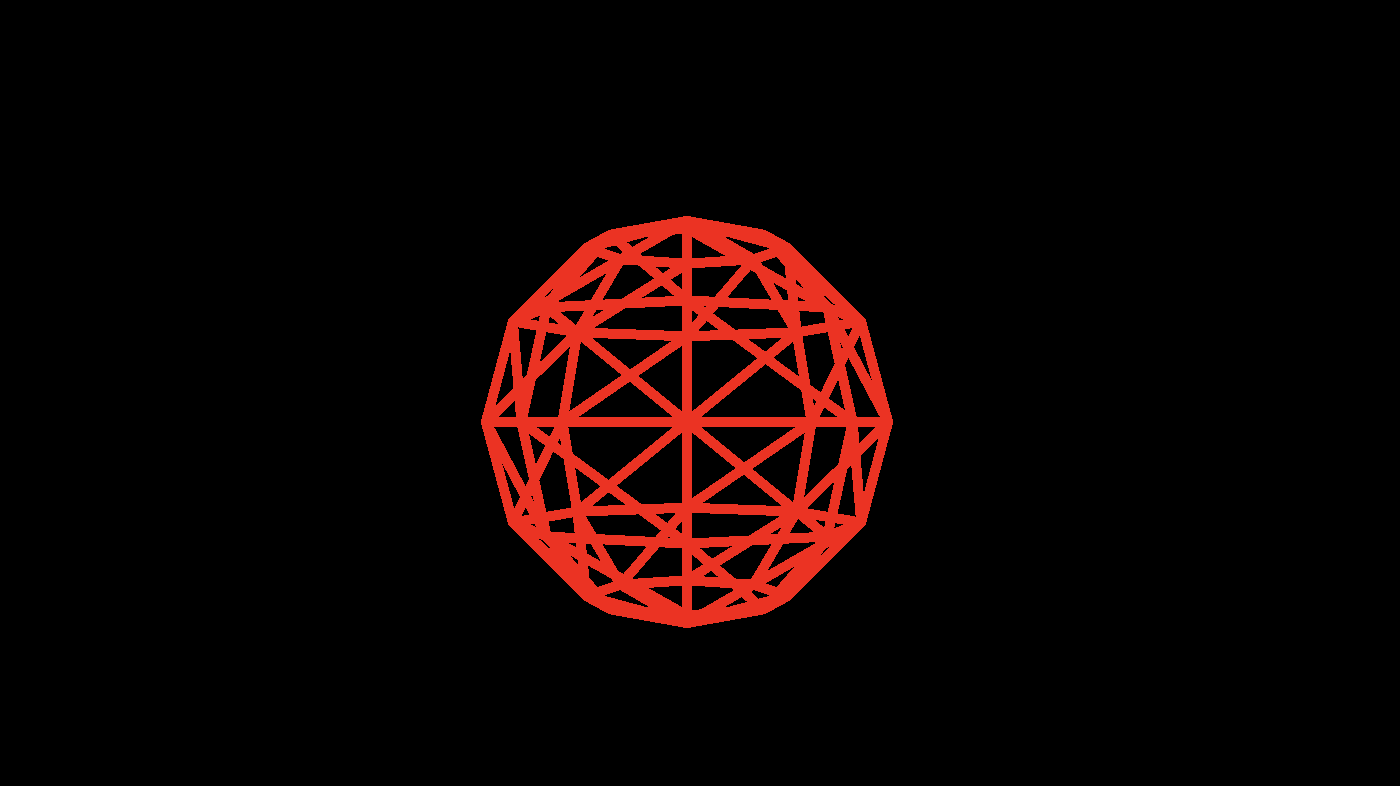
First, import all of the code in three/examples/js/lines, then add this to your scene:
var geo = new THREE.SphereGeometry( 2 );
var geometry = new THREE.WireframeGeometry2( geo );
matLine = new THREE.LineMaterial( {
    color: 0xff0000,
    linewidth: 5, // in pixels
} );
matLine.resolution.set( window.innerWidth, window.innerHeight );
mesh = new THREE.Wireframe( geometry, matLine );
mesh.position.z = -10
scene.add( mesh );
It is very important you set the resolution property. Without it you won’t get errors but the color of the mesh will cover the entire screen and you won’t be able to see anything.
Onward: Crazy Lines
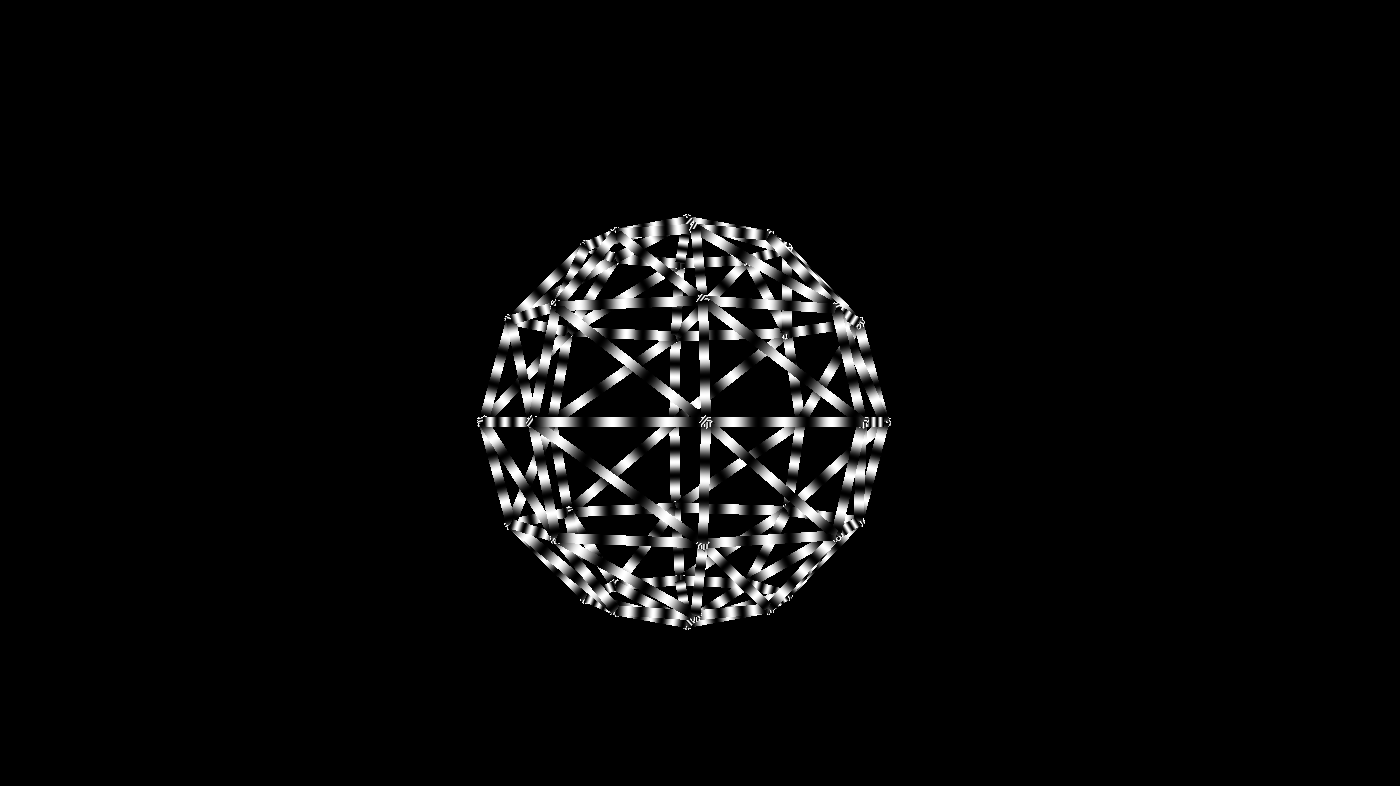
Once you have your lines setup you can mess with the rendering using a custom fragment shader like this:
uniform float delta; //constant supplied by the render method
varying vec2 vUv;
void main() {
    float c = 0.5+sin(vUv.y*10.0+delta*10.0)*0.5;
    vec3 rgb = vec3(c,c, c);
    gl_FragColor = vec4(rgb, 1.0);
}
The code above uses the y part of the UV value (already given to us by the vertex shader) plus the time to calculate a gray and white stripe moving down the length of the line surface.
To use this in the scene modify the material with the custom shader and an extra uniform for delta:
function setupScene() {
    var geo = new THREE.SphereGeometry( 2 );
    var geometry = new THREE.WireframeGeometry2( geo );
    matLine = new THREE.LineMaterial( {
        color: 0xff0000,
        linewidth: 5, // in pixels
    } );
    matLine.resolution.set( window.innerWidth, window.innerHeight );
    matLine.uniforms.delta = {value:0}
    matLine.fragmentShader = document.querySelector('#fragmentShader').textContent
    mesh = new THREE.Wireframe( geometry, matLine );
    mesh.position.z = -10
    scene.add( mesh );
}
In the render loop, update delta with the time:
function render(time) {
    mesh.rotation.y += 0.001
    matLine.uniforms.delta.value = time/1000
    renderer.render( scene, camera );
}
Here’s what we get.
Colored Faces
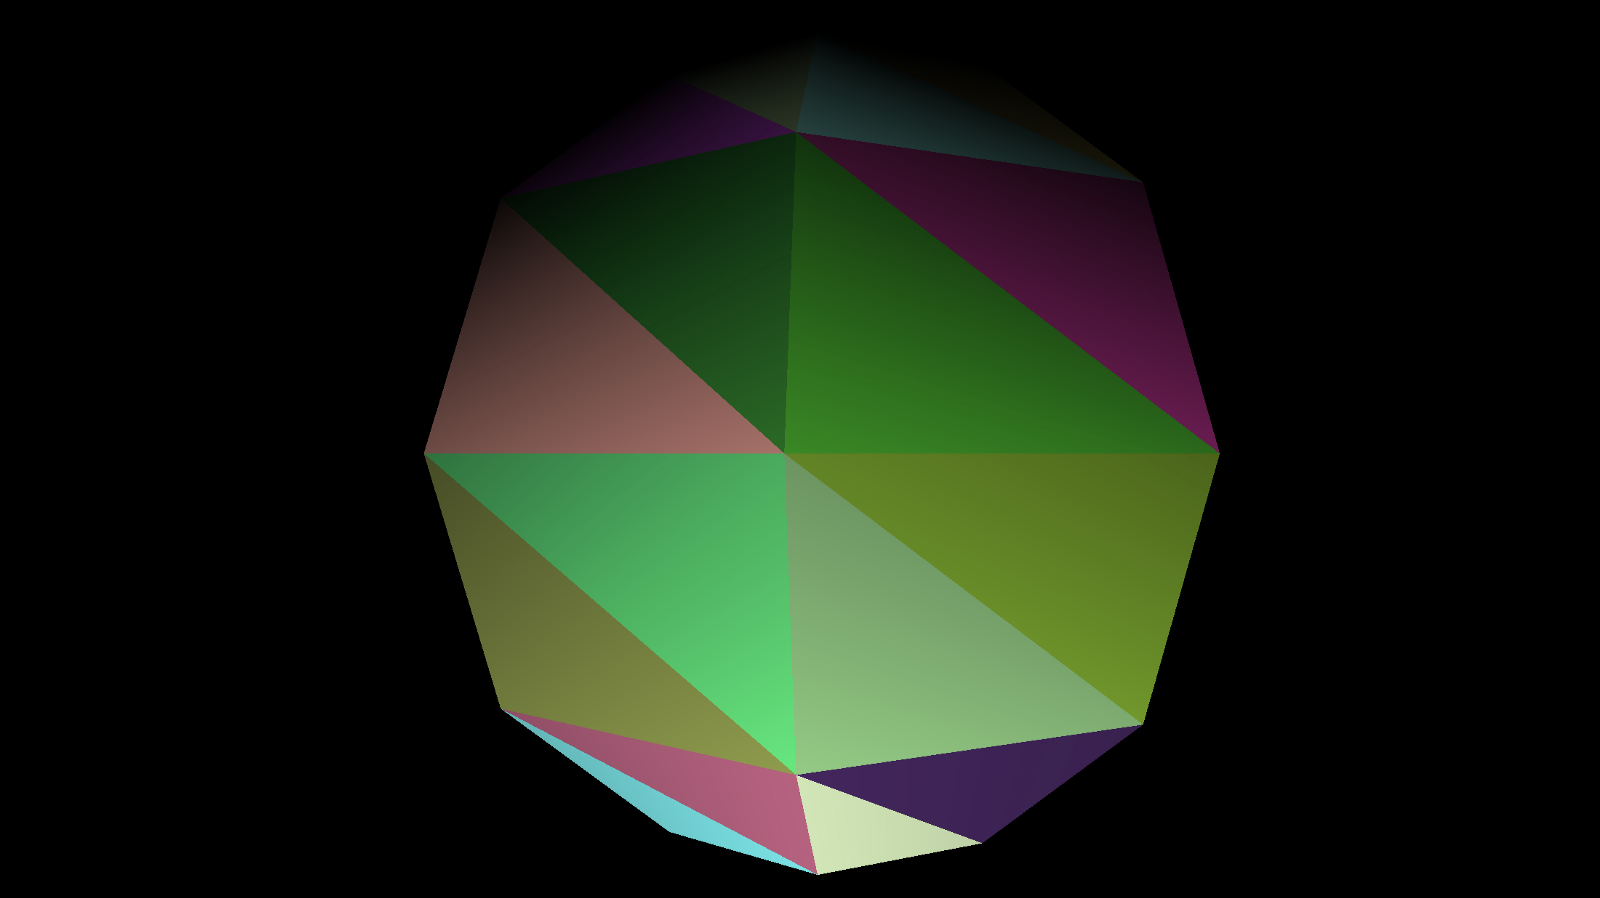
Now let’s suppose you just want to use a primitive and color the sides, maybe in some interesting way. You could add a color for every face as an attribute and write a custom vertex shader to use it, or you can use the built in color support. I haven’t seen it terribly well documented, so here’s an example. lets assume we have a sphere. We want each face to have a random color:
function setupScene() {
    const geo = new THREE.SphereGeometry(2)
    geo.faces.forEach(face => {
     face.color.setRGB(Math.random(),Math.random(),Math.random())
    })
    const mat = new THREE.MeshLambertMaterial({
         vertexColors:THREE.FaceColors})
    mesh = new THREE.Mesh(geo,mat)
    mesh.position.z = -4
    scene.add(mesh)
Note that you must set vertexColors to THREE.FaceColors on the material for this to work.
Now let’s do a variation on our previous wireframe geometry. Let’s turn a sphere into points.
const geo = new THREE.SphereGeometry(2)
const mat = new THREE.PointsMaterial({
    color:0xffffff,
    size: 0.1,
})
mesh = new THREE.Points(geo,mat)
mesh.position.z = -4
scene.add(mesh)
Note that the size is not in pixels, but in 3D space, so if your sphere is 1 unit in diameter and you set size to 1 then the dots will be as pick as the sphere itself.
By default it will draw quads. You can pass in a texture to be used for each point. This can be loaded from disk or drawn on the fly using HTML 2D canvas like this:
//draw a yellow circle
function createDot() {
  const canvas = document.createElement(‘canvas’)
  canvas.width = 32
  canvas.height = 32
  const ctx = canvas.getContext(‘2d’)
  ctx.beginPath()
  ctx.arc(16,16,16,0,Math.PI*2)
  ctx.fillStyle = ‘yellow’
  ctx.fill()
  return new THREE.CanvasTexture(canvas)
}
Then attach it to the shape like this:
const mat = new THREE.PointsMaterial({
   color:0xffffff,
   size: 0.1,
   map: createDot(),
})
Remember that the color of the PointsMaterial is blended with the colors in the texture, so if your texture is blue and your color is red you won’t see anything. Usually you want to set the PointsMaterial color to white or leave it out.

Until Next Time
Remember, if you are working on a cool WebVR experience that you’d like to have showcased right in Firefox Reality, let us know.