
Low Poly style Terrain Generation
 -
-
One of the magical things about using 3D on the web is that we have the rest of the browser APIs available to us. This includes 2D canvas. There are a bunch of existing tutorials on doing height fields but they often assume that you have some existing equations or imagery to use. Today we will generate the height field in a 2D Canvas, then render it, using ThreeJS.

This article is part of my ongoing series of medium difficulty ThreeJS tutorials. I’ve long wanted something in between the intro “How to draw a cube” and “Let’s fill the screen with shader madness” levels. So here it is.
Height Fields
The name height field sounds tricky but it’s really just a grayscale image. Each pixel represents the height of a mountain. There are tons of tutorials how to generate noise so I won’t go into the details here, just a quick overview. Here are the utility functions:
let simplex = new SimplexNoise(4);
function map(val, smin, smax, emin, emax) {
    const t =  (val-smin)/(smax-smin)
    return (emax-emin)*t + emin
}
function noise(nx, ny) {
    // Re-map from -1.0:+1.0 to 0.0:1.0
    return map(simplex.noise2D(nx,ny),-1,1,0,1)
}
//stack some noisefields together
function octave(nx,ny,octaves) {
    let val = 0;
    let freq = 1;
    let max = 0;
    let amp = 1;
    for(let i=0; i<octaves; i++) {
        val += noise(nx*freq,ny*freq)*amp;
        max += amp;
        amp /= 2;
        freq  *= 2;
    }
    return val/max;
}
SimplexNoise is a library to generate nice noisey numbers. In the code above I set a seed to 4. By setting a seed I’m ensuring that every time I run the code I will get the same sequence of numbers. Without this I’d get a new terrain every time the page is loaded.
The map function is a useful utility that I use in lots of projects. It maps a value from one space to another. In this case simplex.noise2D returns a value from -1 to 1 and I want my height field to be from 0 to 1, so the map function does this for me.
Octave stacks multiple noise samples together, converting random looking numbers into a nice flowing cloud field. See this tutorial for more on using octaves of noise.
Now let’s generate a canvas filled with pretty noise:
//generate grayscale image of noise
function generateTexture() {
    const canvas = document.getElementById('debug-canvas')
    const c = canvas.getContext('2d')
    c.fillStyle = 'black'
    c.fillRect(0,0,canvas.width, canvas.height)

    for(let i=0; i<canvas.width; i++) {
        for(let j=0; j<canvas.height; j++) {
            let v =  octave(i/canvas.width,j/canvas.height,16)
            const per = (100*v).toFixed(2)+'%'
            c.fillStyle = `rgb(${per},${per},${per})`
            c.fillRect(i,j,1,1)
        }
    }
    return c.getImageData(0,0,canvas.width,canvas.height)
}
In this example I’m using a canvas I put into the document called debug-canvas. The canvas does not need to be visible. I could replace the call with document.createElement('canvas') but for this demo I want to see what the raw noise texture looks like. The rest of this chunk of code fills each pixel of the canvas with a grayscale color from 0% to 100%, then returns it as imageData.
The final noise texture looks like this:
Now let’s turn this noise into a nice colored 3D mesh. Instead of creating geometry from scratch we will begin with a PlaneGeometry.
const geo = new THREE.PlaneGeometry(data.width,data.height,
                                    data.width,data.height+1)
//assign vert data from the canvas
for(let j=0; j<data.height; j++) {
    for (let i = 0; i < data.width; i++) {
        const n =  (j*(data.height)  +i)
        const nn = (j*(data.height+1)+i)
        const col = data.data[n*4] // the red channel
        const v1 = geo.vertices[nn]
        v1.z = map(col,0,255,-10,10) //map from 0:255 to -10:10
        if(v1.z > 2.5) v1.z *= 1.3 //exaggerate the peaks
        // v1.x += map(Math.random(),0,1,-0.5,0.5) //jitter x
        // v1.y += map(Math.random(),0,1,-0.5,0.5) //jitter y
    }
}
Each pixel in the data is used to modify the height of one vertex in the geometry. Since the pixel data is grayscale we only need to pull out the red channel to get a height value. The other channels will always have the same values. The pixel values are in the range of 0 to 255 but for the terrain I chose -10 to 10 (where 0 is sea-level). The map function again comes in handy here.
To make the mountains feel taller I scaled any values above 2.5 by 1.3. As an optional detail we can jitter the x and y values slightly to make the terrain feel more random.
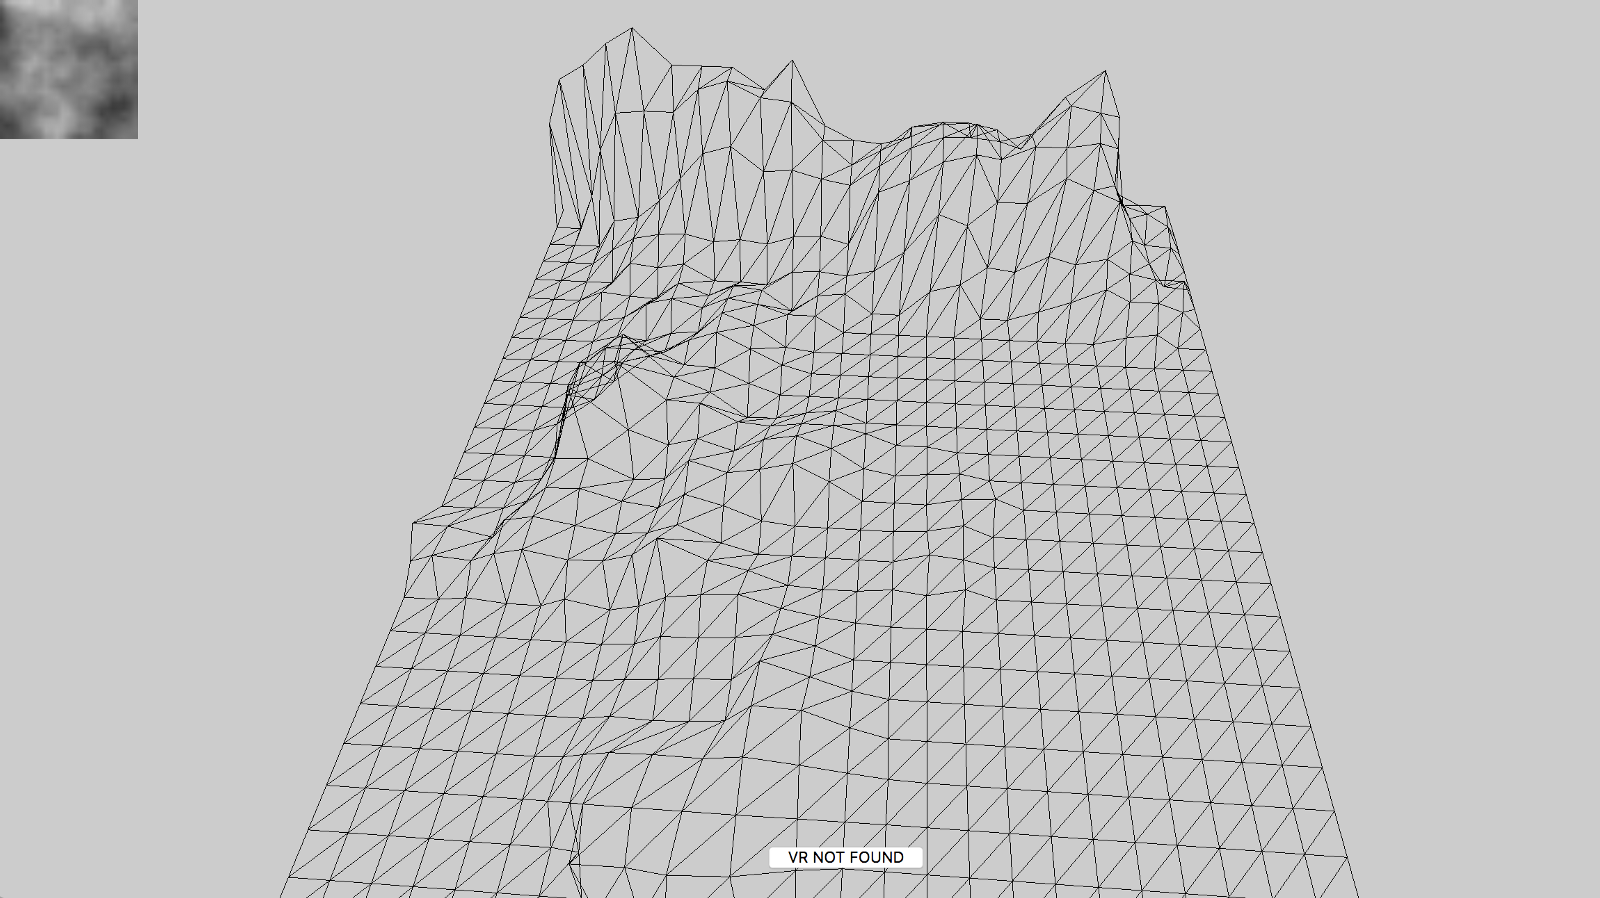
Here’s what the final mesh looks like:
Calculating Colors
Now we need to set some color. Figuring out which vertex goes with which triangle is difficult, so now we will switch to using faces instead of directly looping through vertexes.
//for every face
geo.faces.forEach(f=>{
    //get three verts for the face
    const a = geo.vertices[f.a]
    const b = geo.vertices[f.b]
    const c = geo.vertices[f.c]

    //if average is below water, set to 0
    //alt: color transparent to show the underwater landscape
    const avgz = (a.z+b.z+c.z)/3
    if(avgz < 0) {
        a.z = 0
        b.z = 0
        c.z = 0
    }


    //assign colors based on the highest point of the face
    const max = Math.max(a.z,Math.max(b.z,c.z))
    if(max <=0)   return f.color.set(0x44ccff)
    if(max <=1.5) return f.color.set(0x228800)
    if(max <=3.5)   return f.color.set(0xeecc44)
    if(max <=5)   return f.color.set(0xcccccc)

    //otherwise, return white
    f.color.set('white')
})
If the average height of the three points in the face is below 0 then this face must be underwater, so we can force the height to 0 so that we don’t see below the water.
Next we check the highest value of the face. Each face f has a color property. Setting the color property determines the color of that entire face (triangle) on screen. For each range we set a color. Anything zero or below is blueish. Next is green, then tan, then gray, and finally anything above 5 is white.
That’s basically it. The final detail is to correctly tell ThreeJS to use the vertexes for colors and to turn on flat shading.
geo.colorsNeedUpdate = true
geo.verticesNeedUpdate = true
//required for flat shading
geo.computeFlatVertexNormals()
const mesh = new THREE.Mesh(geo, new THREE.MeshLambertMaterial({
    // wireframe:true,
    vertexColors: THREE.VertexColors,
    //required for flat shading
    flatShading:true,
}))
mesh.position.y = -0
mesh.position.z = -20
//tilt slightly so we can see it better
mesh.rotation.x = toRad(-30)
return mesh
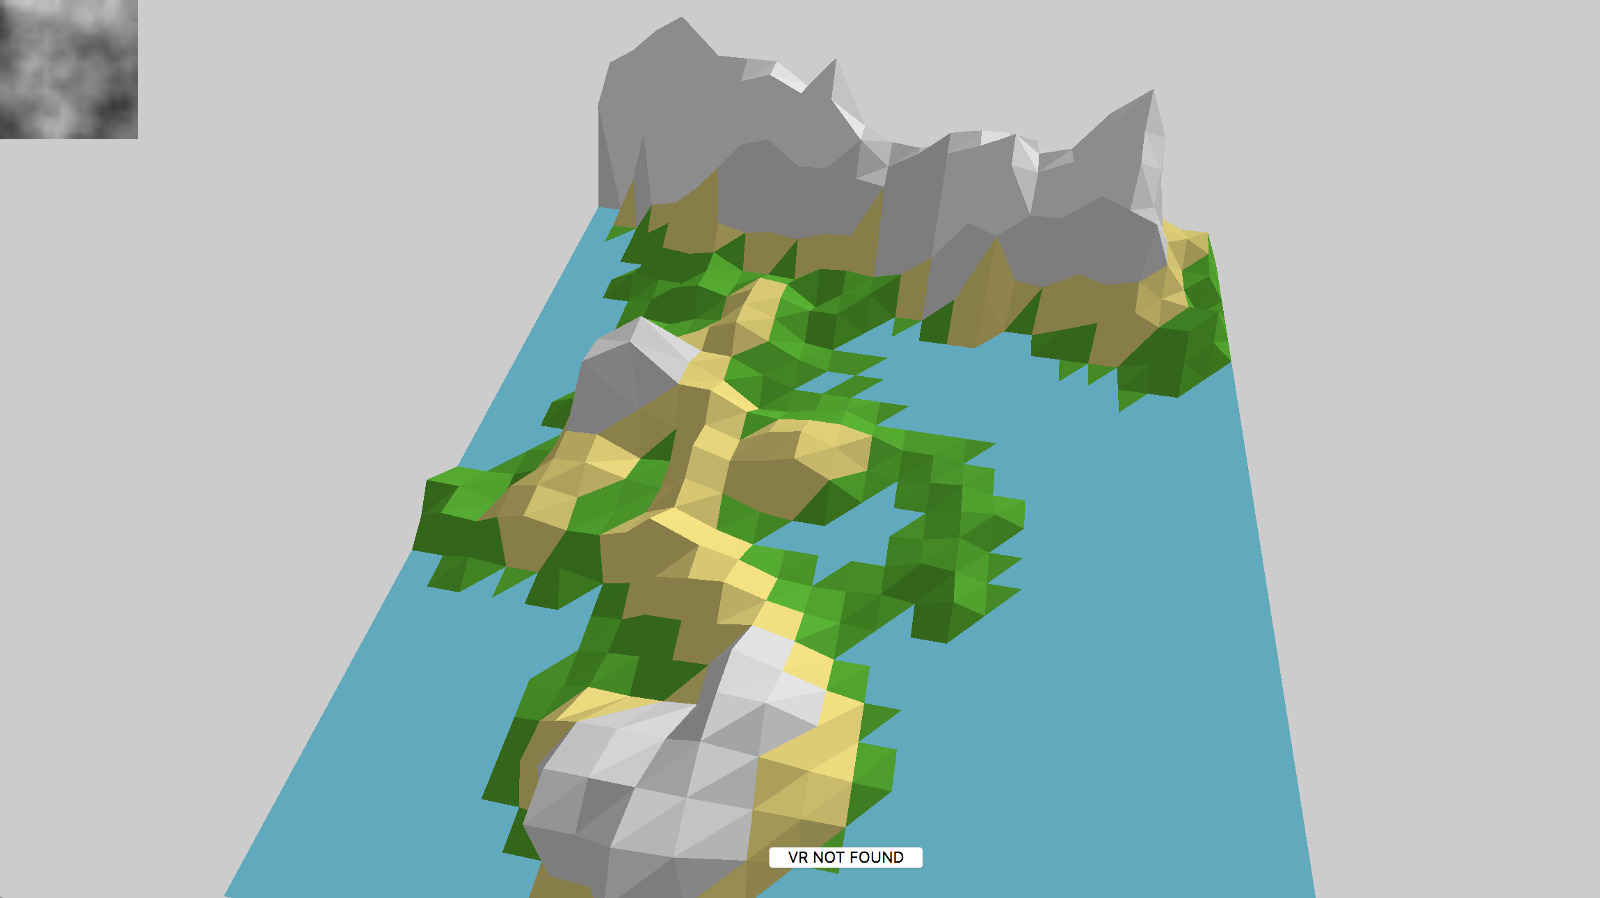
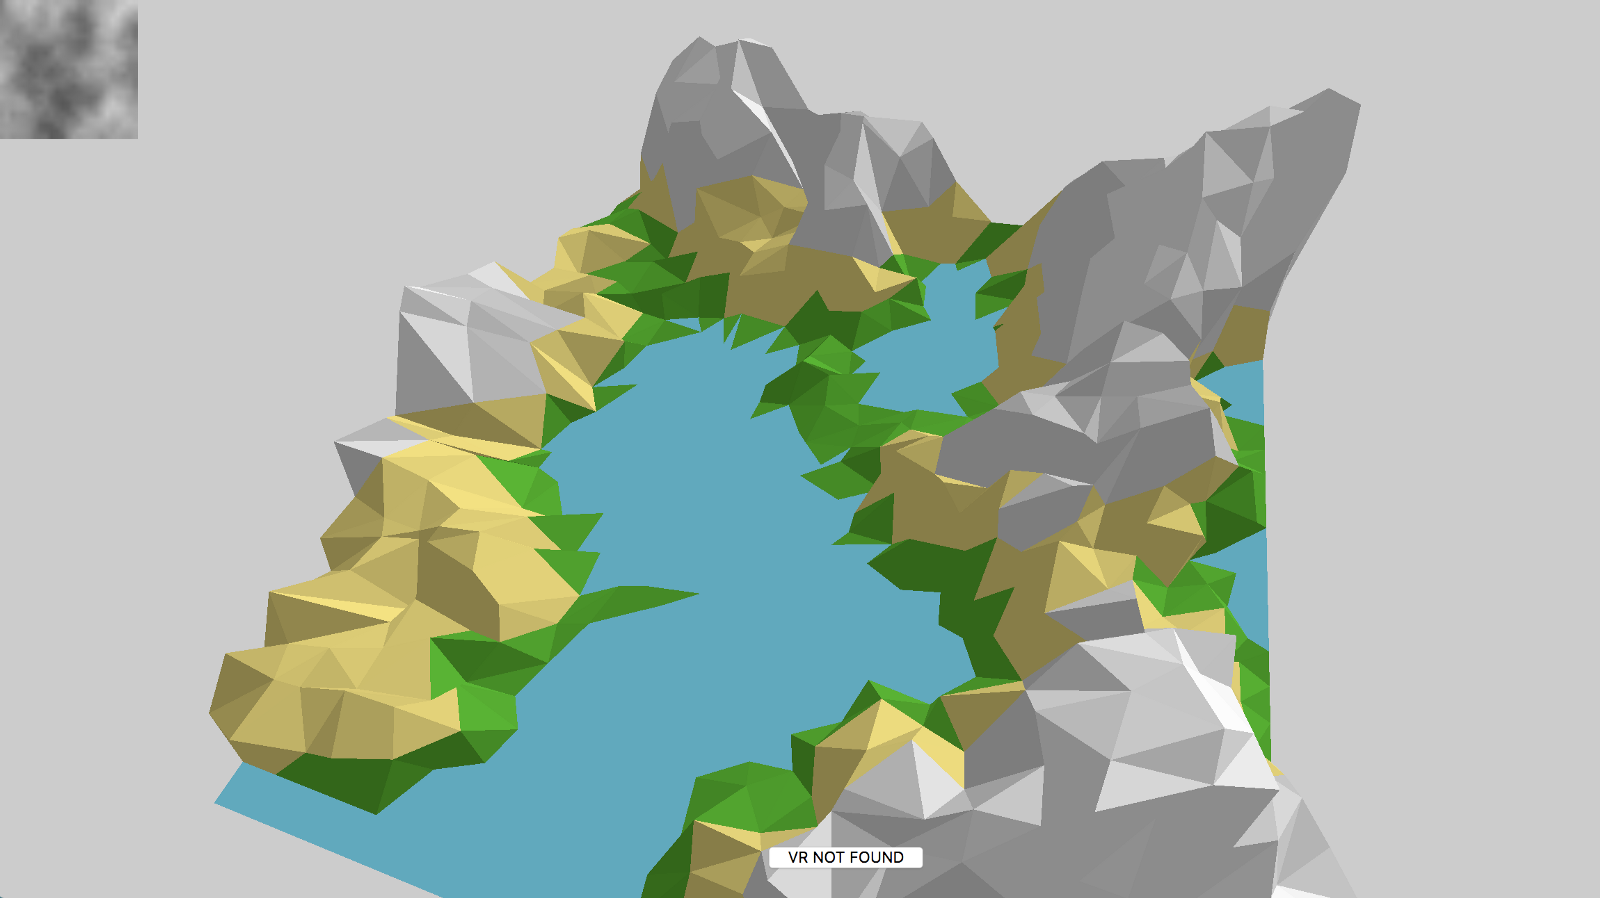
Here’s what the final terrain looks like:
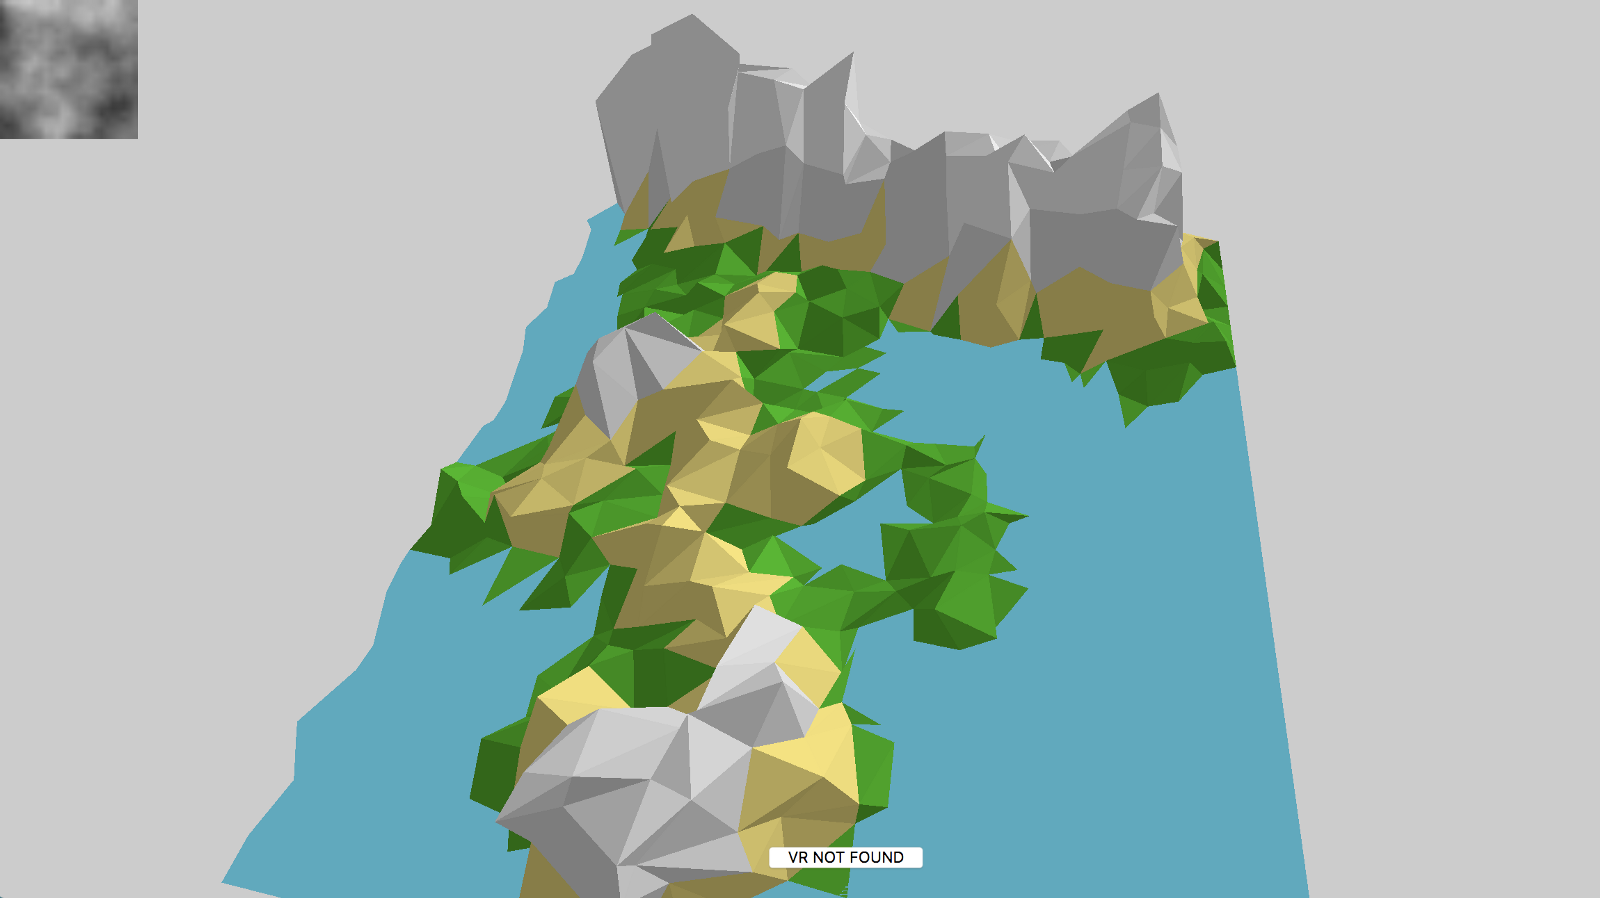
With vertex jittering turned on it has a more chaotic look.
With a different seed value the terrain completely changes. Here I’m using the value 5 instead of 4.
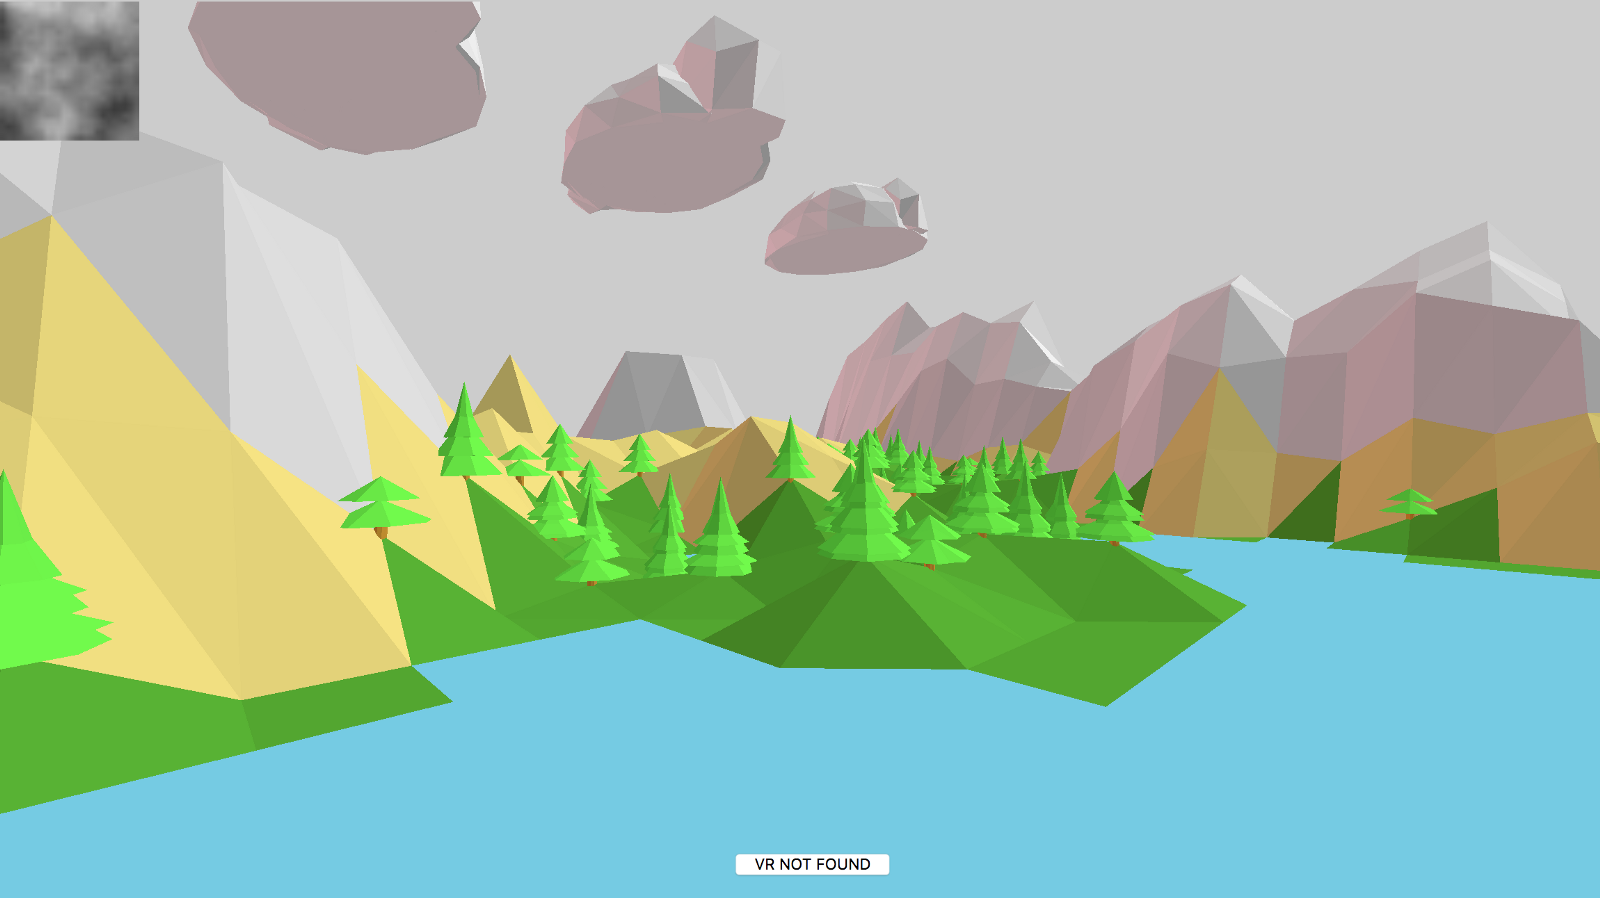
Here is an advanced version where I combined the terrain with clouds and trees from the previous tutorials:
By the way, if you are working on a cool WebVR experience that you’d like to have showcased right inside Firefox Reality, let us know.