
Lessons from Hacking Glitch
 -
-
When we first started building MrEd we imagined it would be done as a traditional web service. A potential user goes to a website, creates an account, then can build experiences on the site and save them to the server. We’ve all written software like this before and had a good idea of the requirements. However, as we started actually building MrEd we realized there were additional challenges.
First, MrEd is targeted at students, many of them young. My experience with teaching kids during previous summers let me know that they often don’t have email addresses, and even if they do there are privacy and legal issues around tracking what the students do. Also, we knew that this was an experiment which would end one day, but we didn’t want the students to lose access to this tool they just had just learned.
After pondering these problems we thought Glitch might be an answer. It supports anonymous use out of the box and allows easy remixing. It also has a nice CDN built in; great for hosting models and 360 images. If it would be possible to host the editor as well as the documents then Glitch would be the perfect platform for a self contained tool that lives on after the experiment was done.
The downside of Glitch is that many of its advanced features are undocumented. After much research we figured out how to modify Glitch to solve many problems, so now we’d like to share our solutions with you.
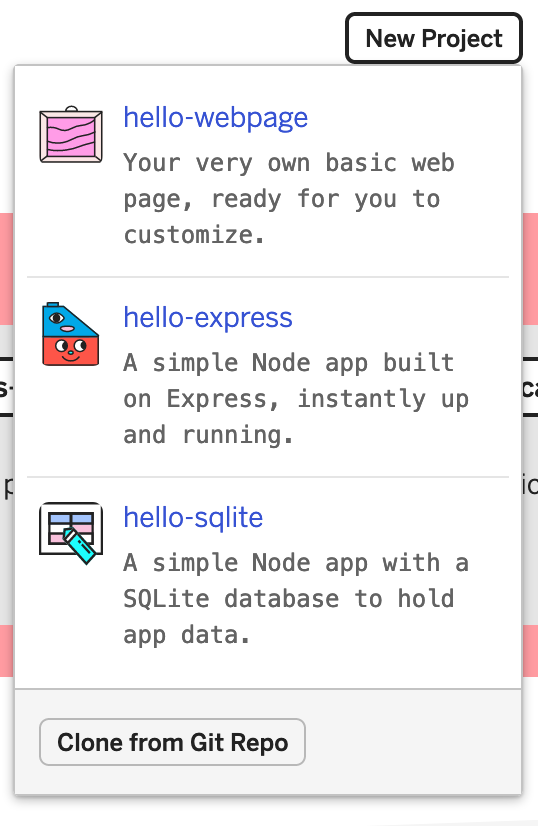
Making a Glitch from a Git Repo
Glitch’s editor is great for editing a small project, but not for building large software. We knew from the start that we’d need to edit on our local machines and store the code in a GitHub repo. The question was how to get that code initially into Glitch? It turns out Glitch supports creating a new project from an existing git repo. This was a fantastic advantage.
We could now create a build of the editor and set up the project just how we like, keep it versioned in Git, then make a new Glitch whenever we needed to. We built a new repo called mred-base-glitch specifically for this purpose and documented the steps to use it in the readme.
Integrating React
MrEd is built in React, so the next challenge was how to get a React app into Glitch. During development we ran the app locally using a hotreloading dev server. For final production, however, we need static files that could be hosted anywhere. Since our app was made with create-react-app we can build a static version with npm run build. The problem is that it requires you to set the hostname property in your package.json to calculate the final URL references. This wouldn’t work for us because someone’s Glitch could be renamed to anything. The solution was to set the hostname to ., so that all URLs are relative.
Next we wanted the editor to be hidden. In Glitch the user has a file list on the left side of the editor. While it’s fine to have assets and scripts be visible, we wanted the generated React code to be hidden. It turns out Glitch will hide any directory if it begins with dot: .. So in our base repo we put the code into public/.mred.
Finally we had the challenge of how to update the editor in an existing glitch without over-writing assets and documents the user had created.
Rather than putting everything into one git repo we made two. The first repo, mred, contains just the code to build the editor in React. The second repo, mred-base-glitch, contains the default documents and behaviors. This second repo integrates the first one as a git submodule. The compiled version of the editor also lives in the mred repo in the build directory. This way both the source and compiled versions of the editor can be versioned in git.
Whenever you want to update the editor in an existing glitch you can go to the Glitch console and run git submodule init and git submodule update to pull in just the editor changes. Then you can update the glitch UI with refresh. While this was a manual step, the students were able to do it easily with instruction.
Loading documents
The editor is a static React app hosted in the user’s Glitch, but it needs to save documents created in the editor at some location. Glitch doesn’t provide an API for programmatically loading and saving documents, but any Glitch can have a NodeJS server in it so we built a simple document server with express. The doc server scans the documents and scripts directories to produce a JSON API that the editor consumes.
For the launch page we wanted the user to see a list of their current projects before opening the editor. For this part the doc server has a route at / which returns a webpage containing the list as links. For URLs that need to be absolute the server uses a magic variable provided by Glitch to determine the hostname: process.env.PROJECT_DOMAIN.
The assets were a bit trickier than scripts and docs. The editor needs a list of available assets, but we can’t just scan the assets directory because assets aren’t actually stored in your Glitch. Instead they live on Glitch’s CDN using long generated URLs. However, the Glitch does have a hidden file called .glitch-assets which lists all of the assets as a JSON doc, including the mime types.
We discovered that a few of the files students wanted to use, like GLBs and WAVs, aren’t recognized by Glitch. You can still upload these files to the CDN but the .glitch-assets file won’t list the correct mime-type, so our little doc server also calculated new mime types for these files.
Having a tiny document server in the Glitch gave us a lot of flexibility to fix bugs and implement missing features. It was definitely a design win.
User Authentication
Another challenge with using Glitch is user authentication. Glitch has a concept of users and will not let a user edit someone else’s glitch without permission, but this user system is not exposed as an API. Our code had no way to know if the person interacting with the editor is the owner of that glitch or not. There are rumors of such a feature in the future, but for now we made do with a password file.
It turns out glitches can have a special file called .env for storing passwords and other secure environment variables. This file can be read by code running in the glitch, but it is not copied when remixing, so if someone remixes your glitch they won’t find out your password. To use this we require students to set a password as soon as the remix the base glitch. Then the doc server will use the password for authenticating communication with the editor.
Future Features
We managed to really modify Glitch to support our needs and it worked quite well. That said, there are a few features we’d like them to add in the future.
Documentation. Almost everything we did above came after lots of research in the support forums, and help from a few Glitch staffers. There is very little official documentation of how to do beyond basic project development. It would be nice if there was an official docs site beyond the FAQs.
A real authentication API. Using the .env file was a nice hack, but it would be nice if the editor itself could respond properly to the user. If the user isn’t logged in it could show a play only view of the experience. If the user is logged in but isn’t the owner of the glitch then it could show a remix button.
A way to populate assets programmatically. Everything you see in a glitch when you clone from GitHub comes from the underlying git repo except for the assets. To create a glitch with a pre-set list of assets (say for doing specific exercises in a class) requires manually uploading the files through the visual interface. There is no way (at least that we could find) to store the assets in the git repo or upload them programmatically.
Overall Glitch worked very well. We got an entire visual editor, assets, and document storage into a single conceptual chunk -- a glitch -- that can be shared and remixed by anyone. We couldn’t have done what we needed on such a short timeline without Glitch. We thank you Glitch Team!